Irene
For this task, we need to choose one of the listed themes and create the required products.
In this task, we choose Theme 1: Event
Thus, we need to design a poster, brochure and matching banner for the event.
For your information, our event theme is '
Hari Raya Aidifiltri'. We choose that theme because it is around the corner and we feel has more idea since a lot of 'Raya Sales' at mall...
haha(laugh) =>Below is our product.
Hope you like it! =)
1. Poster
2. Brochure
 3. Banner
***Created By LCK group***Loh Meng Fun BK07110298 Ch'ng Nguik Hui BK07110068 Kang Siew Tin BK07110077
Irene
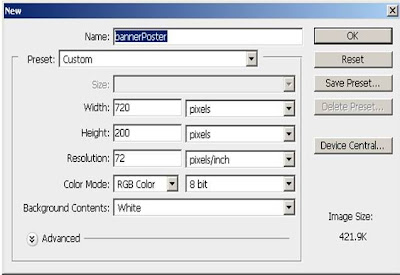
(Software: Adobe Photoshop CS4)1. Create new canvas with the following properties.
2. Draw the shape using brush tool, choose scattered maple leaves with background colour 33ffff.
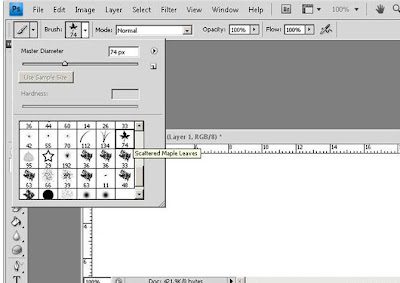
3. Draw the shape pattern based own creativity.

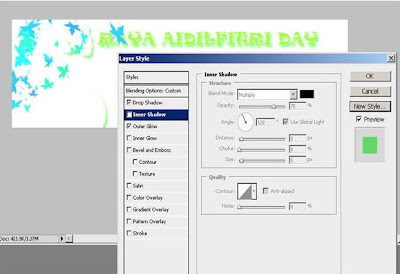
4. Create another layer to write the event theme.

5. Right click the layer and choose the blending options. Arrange the layer style based own creativity. In this banner, we choose to drop shadow and outer shadow.
6. Use custom shape tool --> select the floral ornament 1.
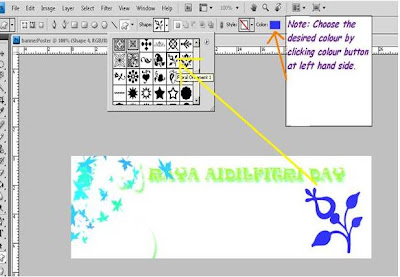
7. Add the event details. Choose the font --> Ravie, Regular, 12pt
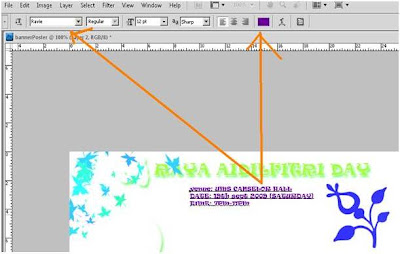
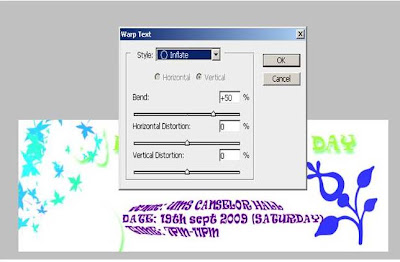
8. Adjust the style of the event details by right-clicking the layer. -->Choose warp text, and pick the inflate style.
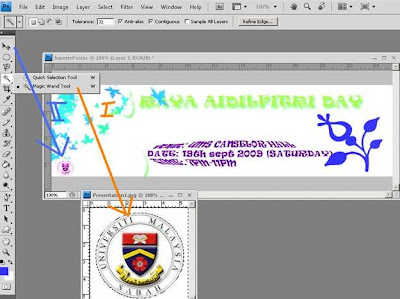
9. Insert the UMS logo to indicate the event is organised by UMS students. First step, use the magic wand tool to crop the frame of logo. Then, drag the logo into banner.
Go to edit -->transform --> scale, to adjust the logo position.
10. File --> Save as --> raya banner.psd
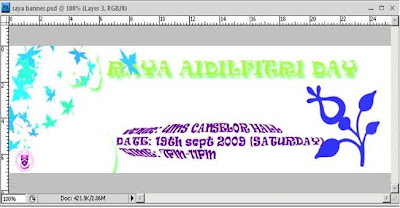
The banner is done.


